Prepare optimized files you own or are licensed to publish.
Open the file library
Go to Content → Files → Upload files. Choose a supported image, video, or PDF.
- Videos use supported MP4 or WebM formats.
- Follow the type and size limits displayed by the uploader.
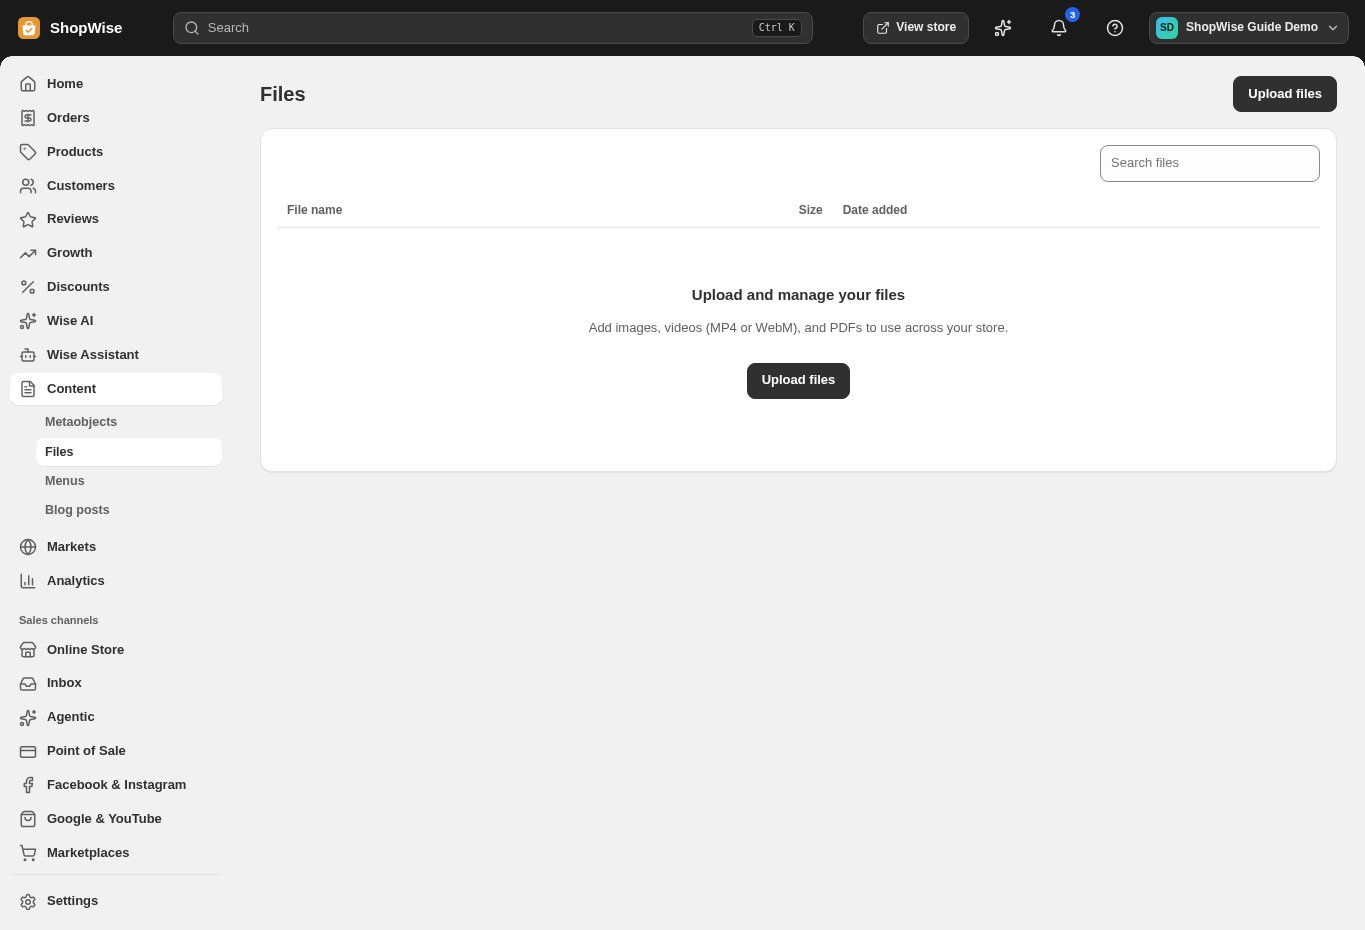
Check the upload
Wait for the upload to finish, then locate the file in the library.
- Use meaningful filenames so your team can find assets later.
Use the hosted file
Use its hosted address or the media picker provided by the page or theme editor.
- Use store-hosted media instead of hotlinking another website.
- Provide descriptive alternative text wherever the editor supports it.
Verify before removing
Preview the content that uses the file. Before deleting a file, check whether pages, products, or theme sections still reference it.
- Deleting a shared file can break more than one page.
CHECK YOUR WORK
You’re ready when…
- The uploaded file opens successfully.
- The page using it loads correctly on mobile.
IF SOMETHING DOESN’T LOOK RIGHT
Troubleshooting
Why was a file rejected?
Check its true file type and size against the uploader’s message. Export to a supported format or reduce its size, then upload again.
Why is a control missing or unavailable?
Confirm that you are in the correct store and that your role allows this action. Optional apps and channels may require installation, a plan, or activation. Share the screen name and error with support if access is still unclear.