Both locations and the product variants must already exist.
Create a transfer
Open Products → Transfers → Create transfer. Select the source and destination locations.
- Choose different locations and verify available stock at the source.
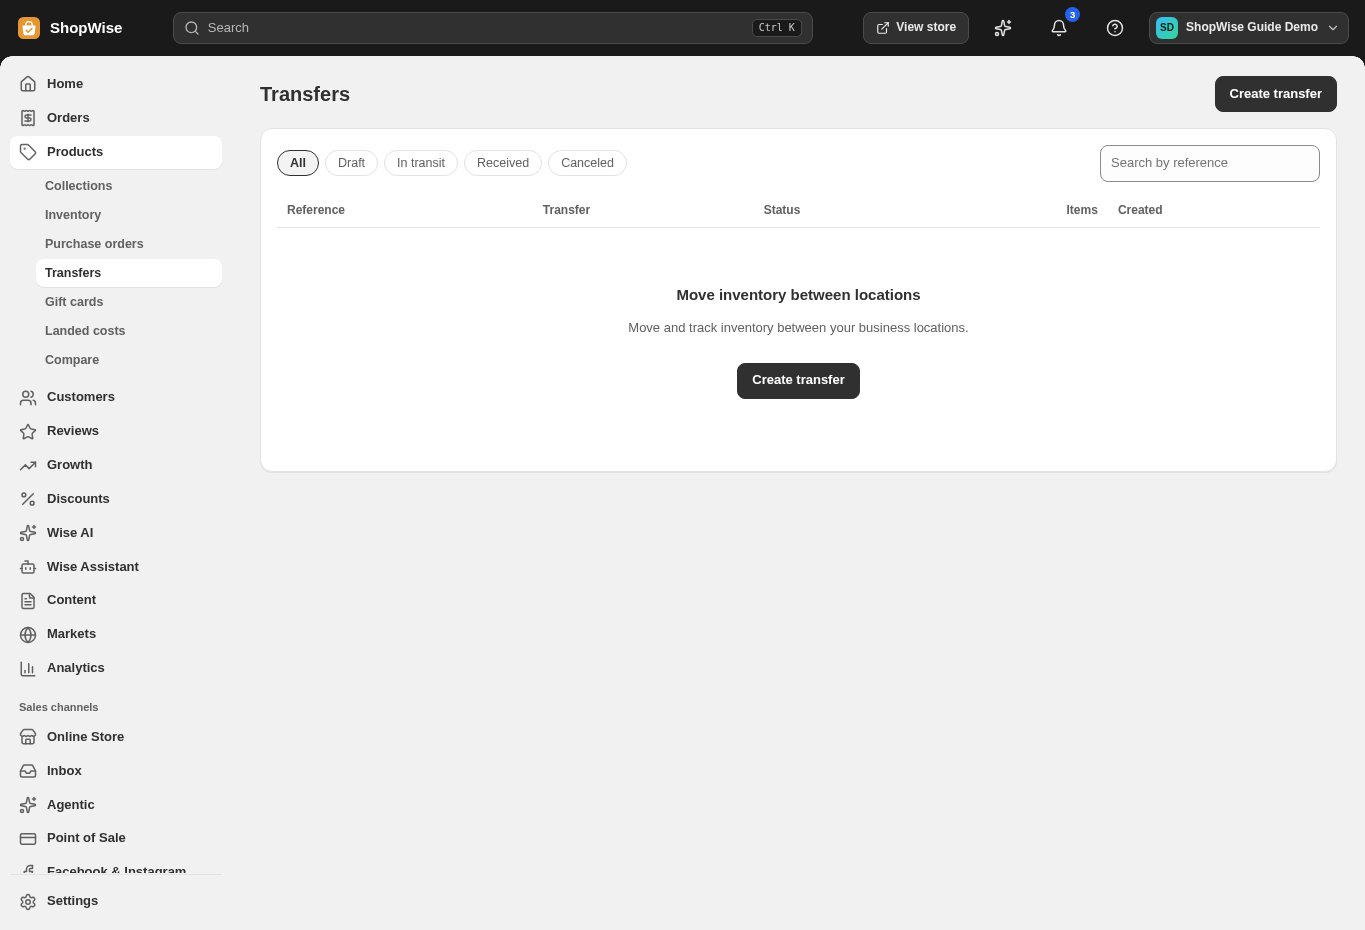
Add the shipment
Add products, enter quantities, and add a reference or note that identifies the movement. Save the transfer.
- Count the physical units before dispatch.
Mark the movement
Choose Mark as in transit when the goods leave the source.
- Do not also make a manual inventory increase for the same movement.
Receive and reconcile
At the destination choose Receive items and record the actual quantities received. Check both locations in Inventory.
- Investigate missing or damaged units before closing your operational records.
CHECK YOUR WORK
You’re ready when…
- Source and destination quantities reflect the movement.
- The transfer status agrees with the physical shipment.
IF SOMETHING DOESN’T LOOK RIGHT
Troubleshooting
Why is stock still in transit?
The destination receipt has not been completed, or only part was received. Open the transfer and check its remaining quantities.
Why is a control missing or unavailable?
Confirm that you are in the correct store and that your role allows this action. Optional apps and channels may require installation, a plan, or activation. Share the screen name and error with support if access is still unclear.