Know each location’s address and whether it fulfills online orders.
Review locations
Open Settings → Locations and inspect your existing locations.
- Do not create a duplicate because a location’s display name changed.
Add or edit a location
Use the location controls to enter its name and address. Review the fulfillment options offered on the screen.
- Use names your warehouse team can distinguish.
Assign inventory
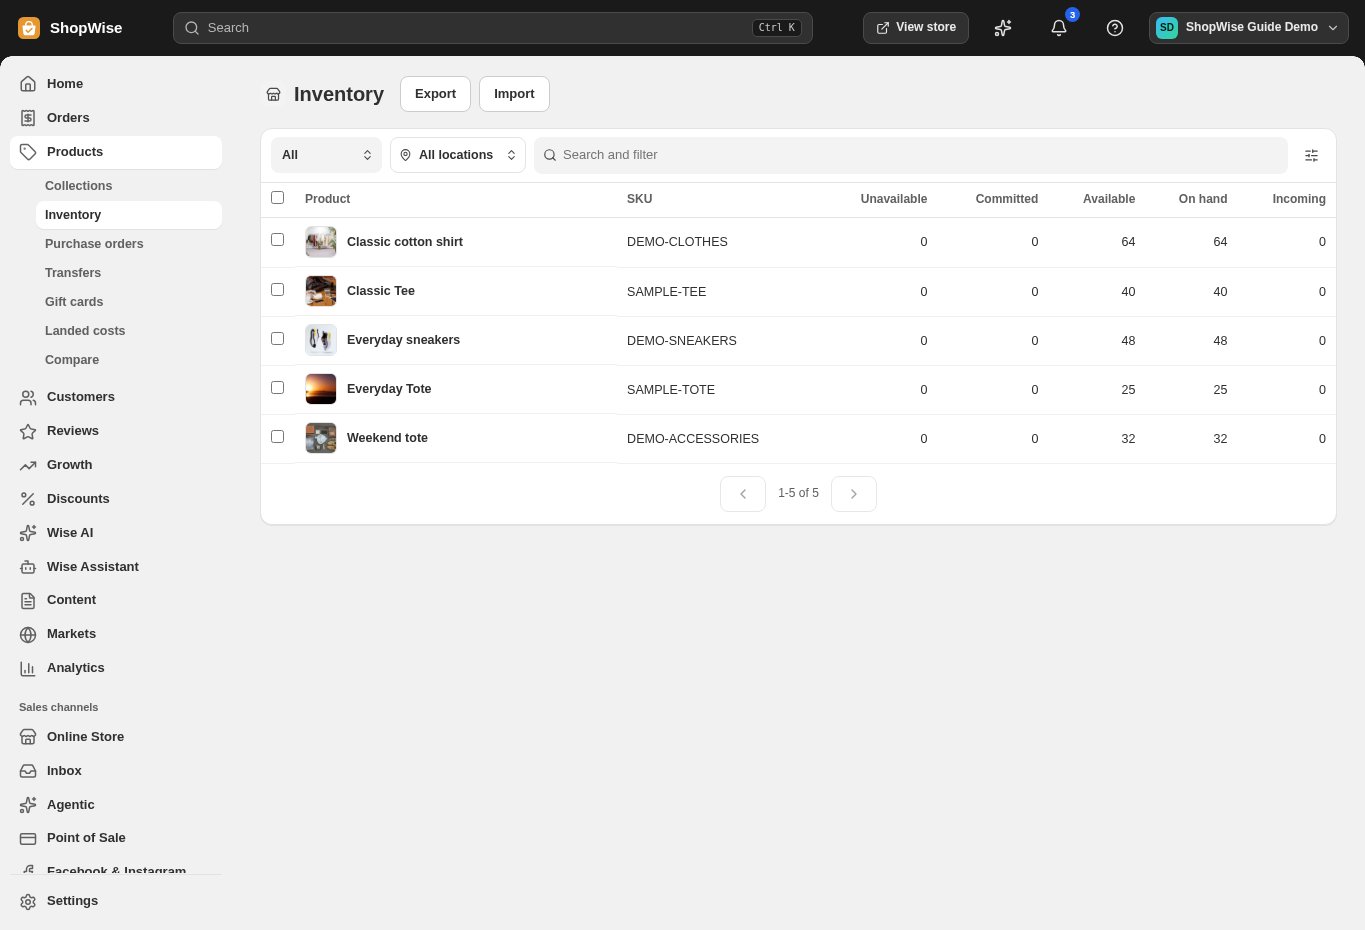
Open Inventory and select the location. Verify which variants are stocked there and their quantities.
- Use a transfer when moving existing physical stock between locations.
Check delivery
Review shipping origins and rates, then test an order for stock at this location.
- Resolve stock and shipping eligibility before sending customer traffic.
CHECK YOUR WORK
You’re ready when…
- Location addresses and stock are accurate.
- The intended fulfillment location can serve a test order.
IF SOMETHING DOESN’T LOOK RIGHT
Troubleshooting
Why can’t I sell stock at a location?
Check the variant’s available inventory and the location’s fulfillment eligibility. Stock existing somewhere does not guarantee that checkout can ship it.
Why is a control missing or unavailable?
Confirm that you are in the correct store and that your role allows this action. Optional apps and channels may require installation, a plan, or activation. Share the screen name and error with support if access is still unclear.