



Google Customer Reviews
Collect Google seller ratings after checkout
1. Review the fit
Shows Google's official post-purchase opt-in survey on the order confirmation page, feeding your Google seller rating. Connect your Merchant Center account from Admin -> Google Customer Reviews and paste your Merchant ID -- the Pro plan adds the Google seller-rating badge on every storefront page, plus badge position, survey style and delivery-estimate settings. Some functionality is available, while other capabilities may still be planned. Review the live listing before relying on a particular workflow.
2. Check requirements
Check these requirements before installing.
- Requires your own Google Merchant Center account. Real, built-in Google Customer Reviews — it needs your own Google Merchant Center account to do anything. Once connected: sign up for Google Customer Reviews in Merchant Center → Growth → Manage programs, accept the agreement, and paste your Merchant ID into Admin → Google Customer Reviews. The post-purchase opt-in survey then shows on the order confirmation page automatically; the Pro plan adds the Google seller-rating badge on every storefront page. What needs the provider: a Google Merchant Center account and Merchant ID.
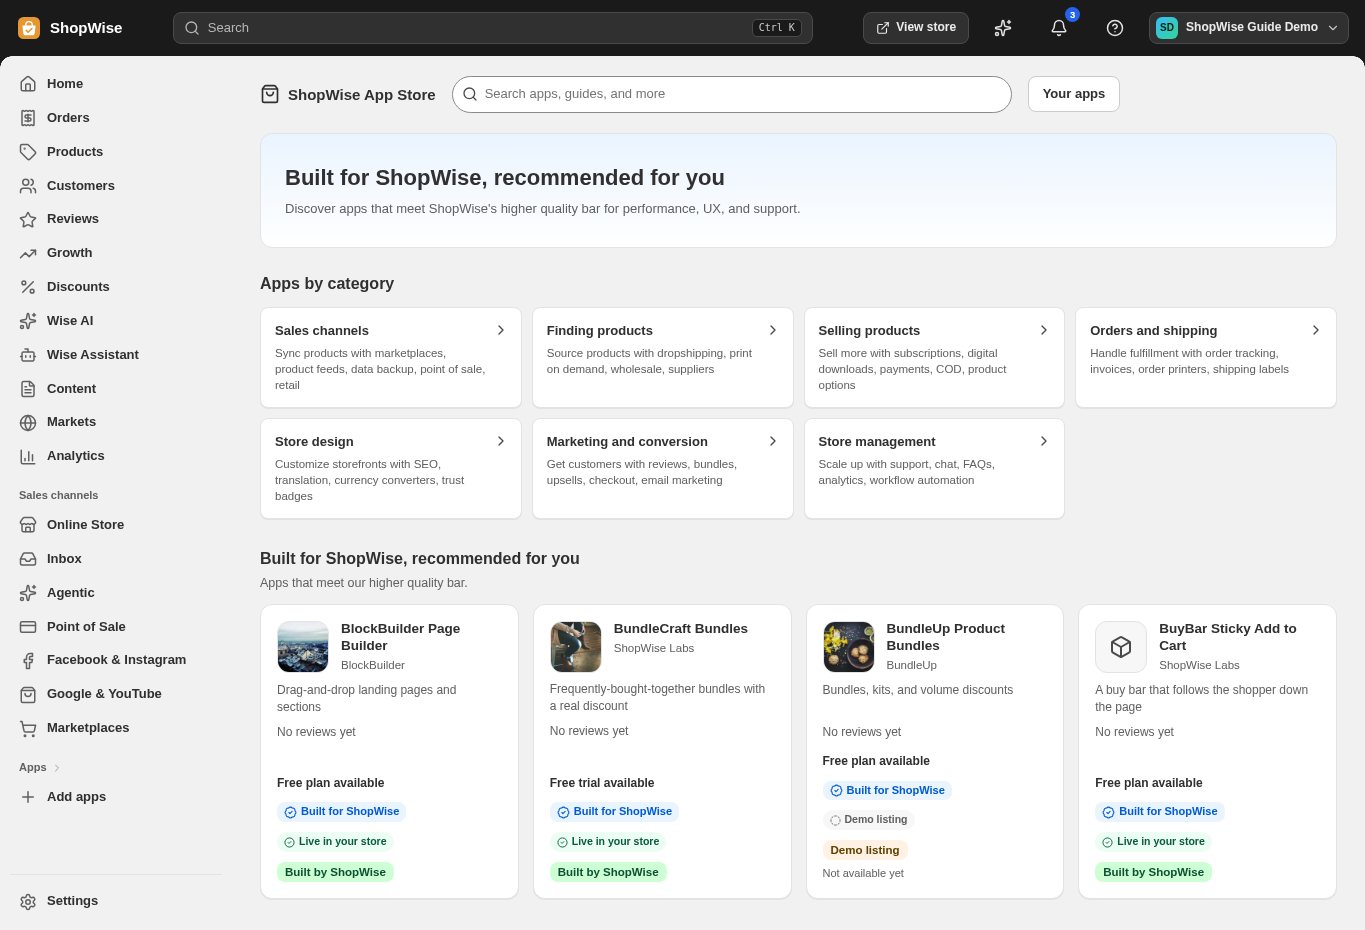
3. Choose and install
Sign in to the store where you want to use the app. Review its requested access and choose a plan that fits your usage. Paid plans and provider charges are separate from your store package.
4. Configure and preview
Open the app from your admin and complete its setup. If it adds a storefront component, enable the appropriate app block or section in your theme. Preview on desktop and mobile before publishing.
5. Test the customer journey
Use sample products or a test order to check the result. Review app usage and plan limits before increasing traffic. Contact the app’s support team through the listing if the result differs from what you expected.