



Roles and permissions for your team
Know what each of the nine built-in roles can do, build a custom store or POS role from the real permission groups, and understand who can create, assign and delete roles.
On this page
You need the store owner account, a role with "Manage roles" to create, edit, duplicate or delete roles, or a role with "Manage users" to assign existing roles to people on the Users tab. None of the nine built-in roles can be edited or deleted — duplicate one to start a custom role with almost the same permissions.
Open the Roles tab
Go to Settings → Users and permissions, open Users, then open the Roles tab. Roles are split into two sections — Store roles (access to the admin) and POS roles (access to the Point of Sale register) — and the POS roles section only appears once the Point of Sale app is installed. Each row shows the role's name, description, how many people hold it, and either a "Managed by Lulu" badge or "Custom".
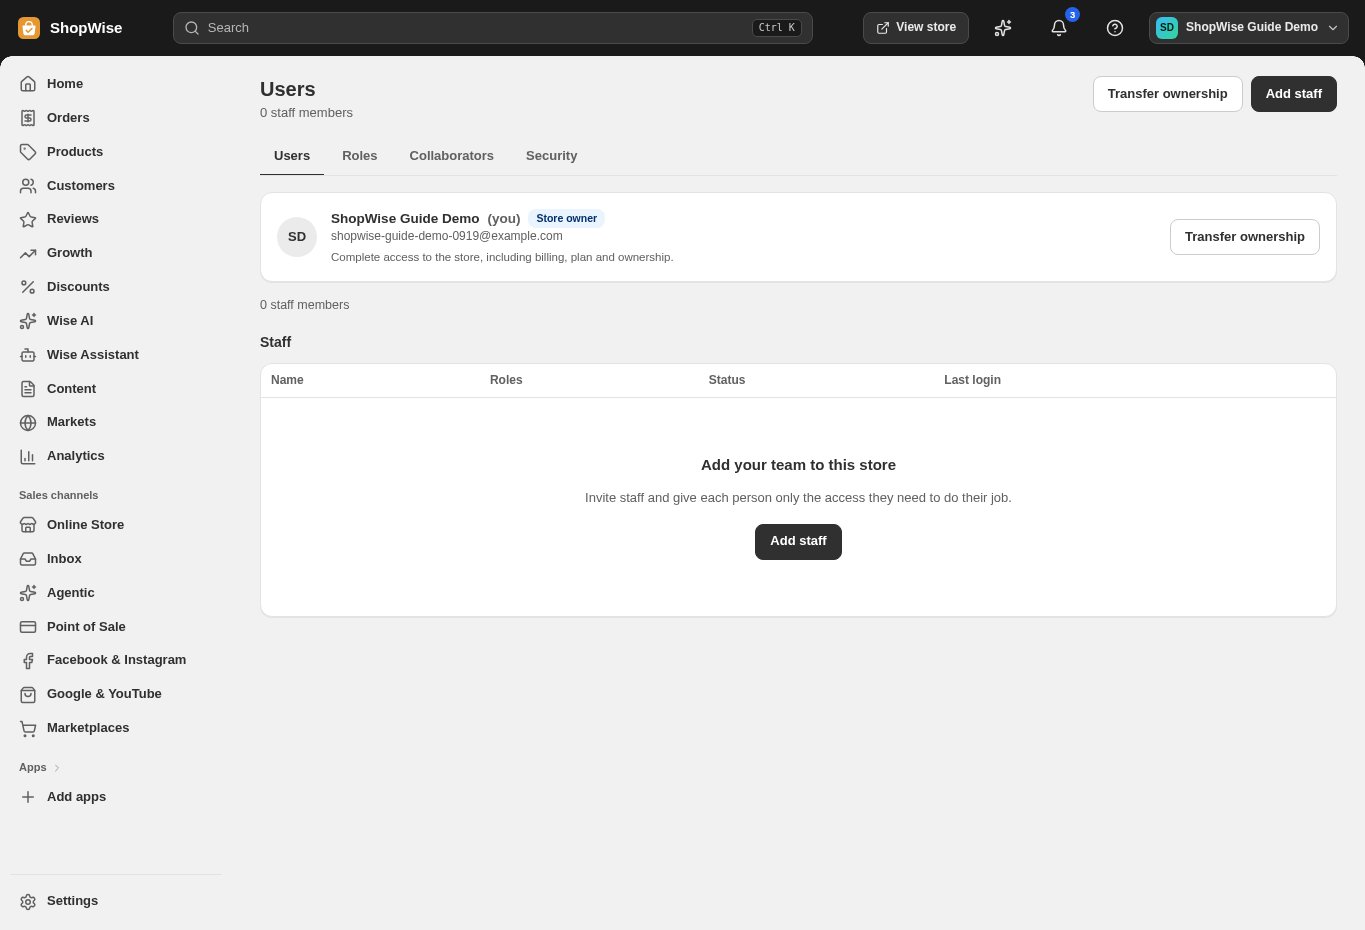
- The Users page has four tabs: Users, Roles, Collaborators, and Security.
Know the nine managed roles
Every store starts with nine managed roles. They're locked — a lock icon, disabled checkboxes — and kept up to date automatically, so duplicate one if you want something close but editable:
- Administrator (store) — access to almost every feature, including users, roles and every sensitive permission. Can't change store ownership, and can't pause, cancel or deactivate the store — those stay with the owner.
- Store user administrator (store) — invites, edits, suspends and removes people and assigns them store roles. Can't create, edit or delete roles, and opens nothing else in the admin.
- POS administrator (pos) — every Point of Sale permission, plus POS user management, device setup and POS roles.
- POS full permissions (pos) — every Point of Sale permission at the locations they're assigned to, plus POS user management. Can't create or edit roles and can't set up devices.
- POS user administrator (pos) — adds and removes POS-only users and assigns them POS roles, with basic selling (discount codes, creating and viewing customers, saved carts). No refunds, cancels, custom discounts or cash drawer access.
- POS device setup (pos) — only pairs new devices to a register. No access to the register or the rest of the admin.
- App developer (store) — builds and edits this store's custom apps under Settings → Develop apps. No access to store data and no billing.
- Staff (store) — day-to-day order work: view and manage order information, fulfill and ship, export orders, and work abandoned checkouts; view (not create or edit) draft orders, products and customers; view companies; reports, marketing and discounts; themes; and view billing. No settings, finance or user management.
- Collaborator access (store) — for partners working on your store. The default covers themes, products, orders, apps, shipping and store settings. It does not include managing users and roles, changing the plan, Point of Sale, anything financial, approving paid app charges, exporting customers, exporting orders or exporting a store backup. It's given automatically when you approve a partner's collaborator request or grant access from Onboarding partners → My requests. To change what one partner can do, open the Collaborators tab and click "Edit access" next to them; this works on every plan. A collaborator can never be given user or role management, plan changes, Point of Sale or backup restore.
Choose a category when you create a custom role
Select "Create role" on either section of the Roles tab. Pick Store role (admin access) or POS role (register access) — this can't be changed once the role exists. Custom store roles need a plan above the entry plan; custom POS roles need the Point of Sale app on the Retail or Pro package (the tab explains whichever gate applies, with a link to upgrade). Then enter a name (up to 80 characters) and an optional description (up to 280), and tick the permissions it should have. Two permissions you might expect to see — Merge customers and Manage and add custom pixels — are left out of the picker until those features ship, even though their permission keys already exist in the system.
- Permissions are grouped: Home, Orders, Draft orders, Products, Inventory, Catalogs, Gift cards, Customers, Analytics, Marketing, Discounts, Content, Files, Online store, Checkout and customer accounts, Companies, App development, Store settings, Finance, Apps and channels, and Point of Sale.
- Ticking a permission also selects the ones it depends on — for example, Products → Edit price selects Products → View. A POS role can only hold Point of Sale permissions.
- For a store role, you can also limit it to specific installed apps under "App permissions" — leave every box empty to allow every app.
- A store can have up to 30 custom roles in total, store and POS combined.
Only hand out what you hold yourself
You can only put a permission into a role, or give someone a role, that you hold yourself — and at every location where you can use the register. If you have POS full permissions at one location but only basic selling at another, you can't give someone at that second location anything beyond what you hold there (refunds included), even though you could at the first. Only the store owner or an Administrator can give a role "Manage users" or "Manage roles"; "Manage POS users" can also be given by a POS administrator or by anyone who already manages store users.
Assign more than one role to a person
A staff member can hold several roles at once; their effective permissions are everything those roles allow, combined. Choose roles when you add someone, or use "Change roles" on their row on the Users tab — a POS-only user is only ever offered POS roles there.
- Example: give someone both "Staff" and "POS full permissions" if they work the register and the back office.
Know who can manage and assign roles
Creating, assigning and deleting roles are gated separately:
- Create, edit, duplicate or delete store roles — the owner or an Administrator.
- Create, edit, duplicate or delete POS roles — the owner, an Administrator, or a POS administrator.
- Assign or unassign store roles, and invite, edit, suspend or remove store staff — the owner, an Administrator, or a Store user administrator.
- Assign or unassign POS roles, add or remove POS-only users, set POS PINs and location access — the owner, an Administrator, POS administrator, POS full permissions, or POS user administrator.
Duplicate or delete a custom role
"Duplicate" copies any role — managed or custom — into an editable "Copy of …" role with the same category and permissions, fitted inside your own access. "Delete role" removes a custom role. While anyone still holds it — as a role, or as a per-location POS assignment — the delete is refused with a count of how many people and locations use it; confirm again to force it through, which removes the role from every one of them in a single step. Anyone left without a role loses access to the store until you give them one, and a location that would be left with no assignment at all is never allowed to go through — reassign those people's location access first.
CHECK YOUR WORK
You’re ready when…
- Every staff member holds at least one role that matches their job.
- Billing, customer-data-export and tax-document permissions are limited to people who need them.
- You removed a custom role from everyone who holds it — as a role and at every location — before deleting it.
IF SOMETHING DOESN’T LOOK RIGHT
Troubleshooting
A staff member can't see a page I expect them to have.
Check every role they hold — permissions combine across roles, and the built-in Staff role is mostly view-only outside order handling (it can't create or edit products, customers, draft orders or inventory, or change settings). Add the missing permission through a custom role, or assign Administrator if that's really what they need.
I can't edit one of the nine built-in roles.
All nine managed roles are fixed and refreshed automatically — their checkboxes are disabled and they show a "Managed by Lulu" lock. Duplicate the one you want, then edit the copy.
Creating a custom role says my plan doesn't allow it.
Custom store roles need a plan above the entry plan — that's the message you'll see until you upgrade. Existing custom roles keep working if you later downgrade; only creating a NEW one is blocked.
Creating a POS role says I need to upgrade Point of Sale.
Custom POS roles need the Point of Sale app on the Retail or Pro package. The nine managed roles — including the four POS ones — work on every package, Lite included; it's only a brand-new custom POS role that needs the upgrade.
Giving someone a role was refused, and the message names one of their locations.
That's the ceiling rule applied per location: you can only hand over permissions you hold at that SAME location. If you have POS full at one location but only basic selling — no refunds — at another, you can't give someone refund permissions at the second location even though you could at the first. The message lists exactly what's missing and where.
Deleting a role says people or locations still use it.
That's the normal check before a delete — it won't remove a role out from under anyone by accident. The dialog shows how many people hold it and how many POS location assignments use it; confirming again force-deletes it, taking it away from all of them in one step.
Force-deleting a role was refused, saying it would open a location to everyone.
The role you're deleting is the ONLY assignment at that location, so removing it would leave every POS user able to sign in there with full store-wide keys instead of none — the delete is refused rather than widening access by accident. Give those people direct location access first, then delete the role.