



Zendrop Dropshipping
Import Zendrop products and sync tracking back to your orders
1. Review the fit
Source products from Zendrop and sell them in your store. Sign in to Zendrop once, browse the catalog from your admin, and import a product with its variants, images, cost and shipping estimate — your pricing rules set the retail price. Inventory and cost are refreshed on a schedule, and tracking numbers come back automatically onto the right order, with the shipping email sent for you. ONE thing is honest and unavoidable: Zendrop has no order-creation API, so Lulu cannot place your orders for you. When an order needs Zendrop, it appears as a task with the shopper’s address and the exact lines to order, ready to copy; you place it in Zendrop, paste the Zendrop order id back, and tracking then flows in on its own. If Zendrop ever opens an order API, the automatic path is already built behind a capability flag. Needs the Dropshipping module to be switched on for your Lulu installation. You pay Zendrop for products and shipping; Lulu charges nothing. Some functionality is available, while other capabilities may still be planned. Review the live listing before relying on a particular workflow.
2. Check requirements
Check these requirements before installing.
- Requires your own Zendrop account. Real, built-in Zendrop sourcing — it needs your own Zendrop account, and the Dropshipping module switched on for this Lulu installation. Once connected: browse the Zendrop catalog from your admin and import a product with its variants, images, cost and shipping estimate (your pricing rules set the retail price), stock and cost refresh every 6 hours, and tracking numbers come back onto the right order with the shipping email sent for you. One limit is the provider’s, not ours: Zendrop has NO order-creation API, so Lulu cannot place your orders. An order that needs Zendrop becomes a task with the shopper’s address and the exact lines to copy; you place it in Zendrop, record the Zendrop order id, and tracking flows in from there. Automatic placement is already built behind a capability flag for the day Zendrop opens an API.
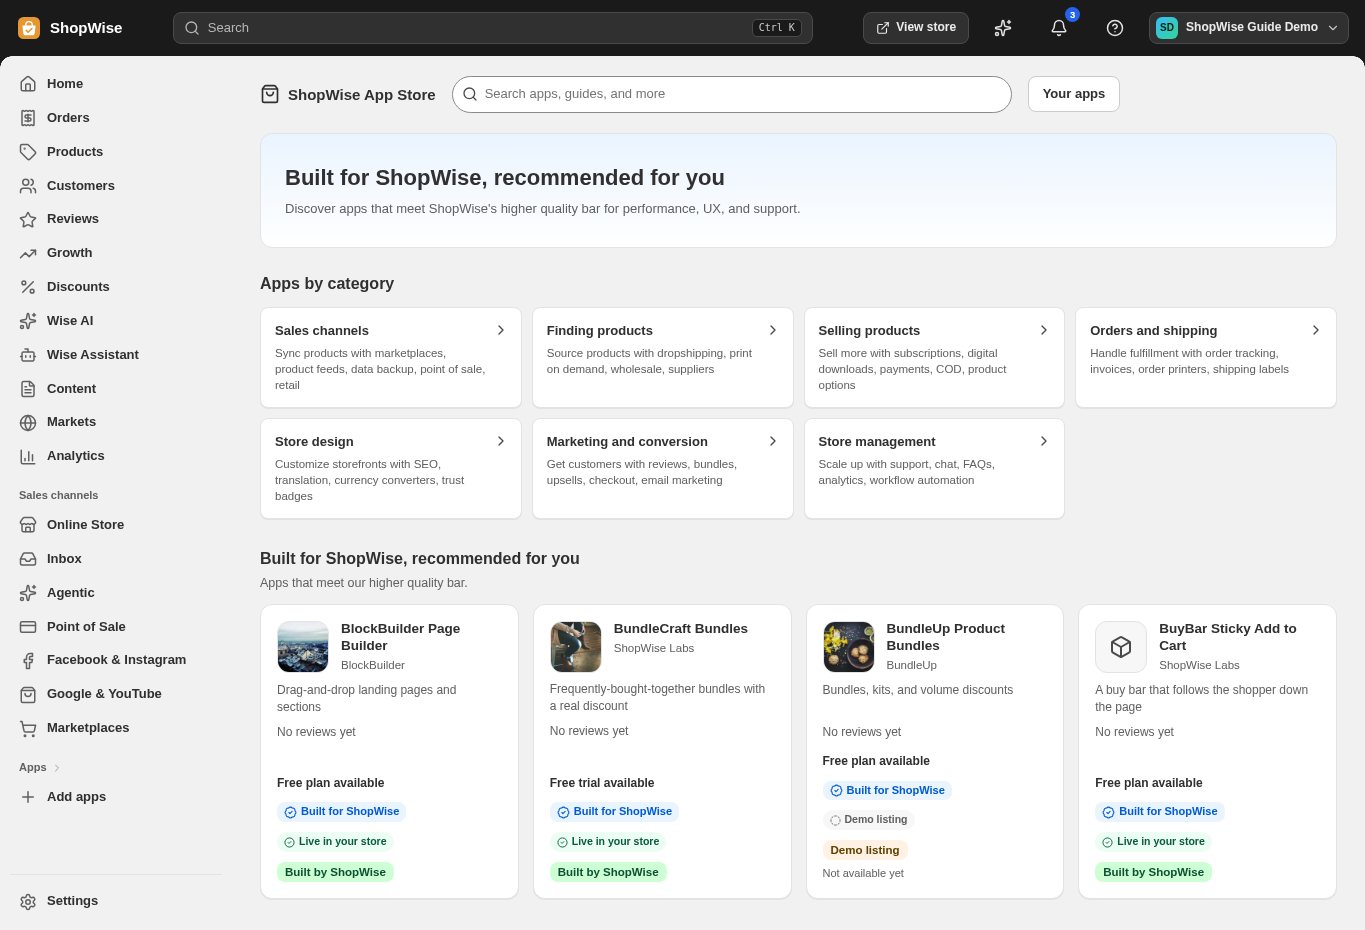
3. Choose and install
Sign in to the store where you want to use the app. Review its requested access and choose a plan that fits your usage. Paid plans and provider charges are separate from your store package.
4. Configure and preview
Open the app from your admin and complete its setup. If it adds a storefront component, enable the appropriate app block or section in your theme. Preview on desktop and mobile before publishing.
5. Test the customer journey
Use sample products or a test order to check the result. Review app usage and plan limits before increasing traffic. Contact the app’s support team through the listing if the result differs from what you expected.