Prepare the destination pages or collections before linking to them.
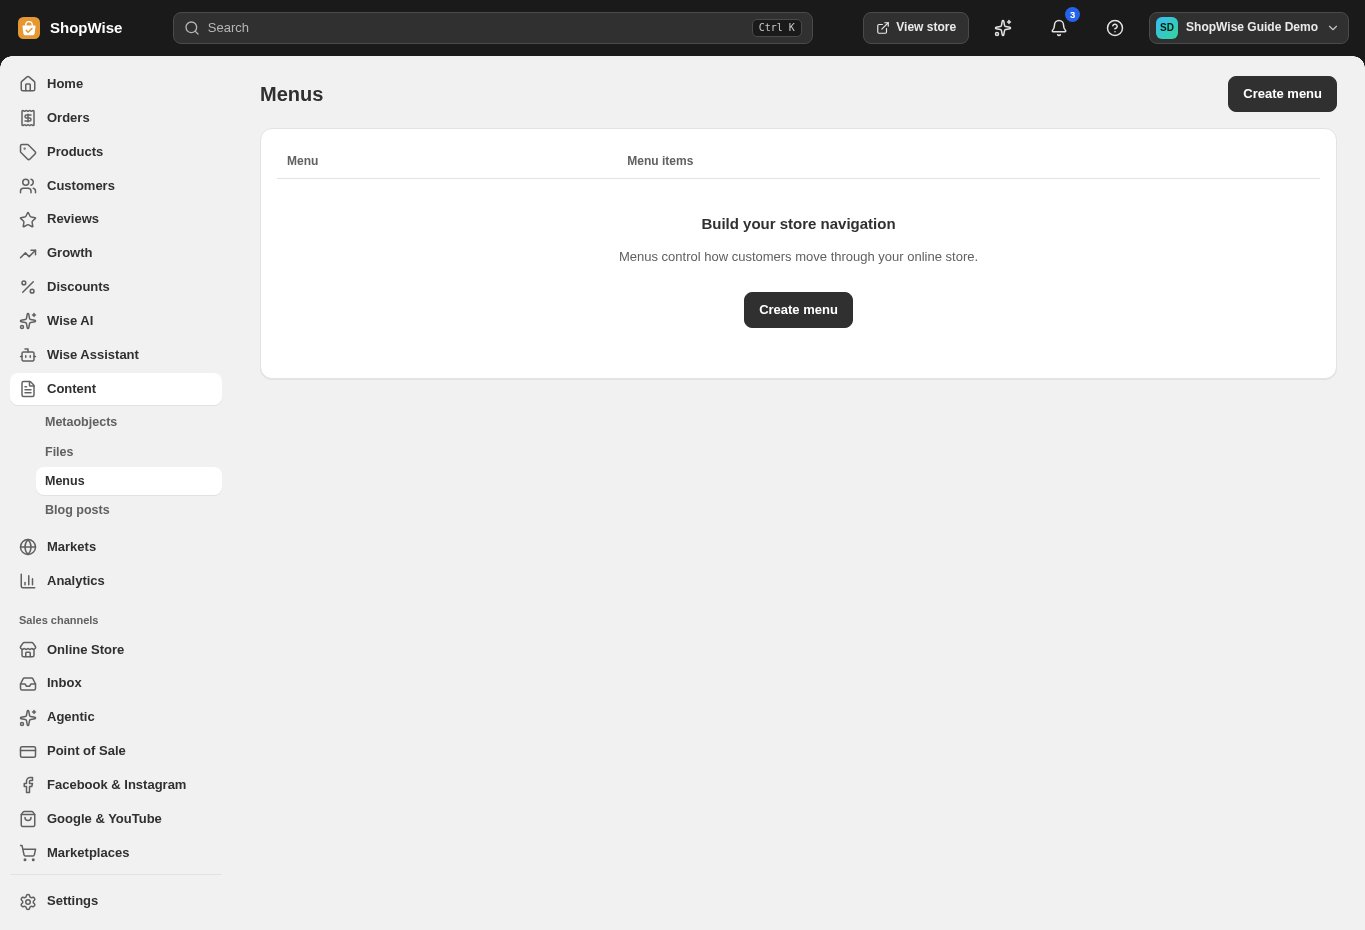
Open Content → Menus
Open Content in the admin navigation, then Menus. Choose Create menu to start a new menu or open an existing one.
Give the menu a clear purpose
Create a menu for the area where it will appear, such as the main navigation or footer. Use a name your team can recognize.
Add useful destinations
Add readable link labels and select the intended destination. Keep your main navigation focused on the paths most customers need.
- Link to collections, products, or information pages that are ready to view.
- Check external addresses carefully before saving them.
Connect the menu to your theme
Save the menu and open your theme customization. Select the menu in the relevant header or footer setting where your theme provides it. A newly saved menu does not automatically replace every theme menu.
Test every link on a phone
Preview the storefront on desktop and mobile. Open the mobile navigation, follow each link, and check that submenu items are usable with a keyboard as well.
CHECK YOUR WORK
You’re ready when…
- Confirm you are editing the intended store and theme.
- Test links and layout in a separate storefront tab.
- Check the same pages on a phone before announcing the change.
IF SOMETHING DOESN’T LOOK RIGHT
Troubleshooting
My menu does not appear.
Confirm it is saved and selected by the published theme’s header or footer. Check the theme preview separately from the live storefront.
A link opens a missing page.
Open the destination directly. Check that the product, collection, or page still exists and is visible, then update the saved menu link.